![]()
Beautiful Plants For Your Interior
![]()
Beautiful Plants For Your Interior


I'm excited to share five creative Easter egg decoration ideas you can try this year. First, the tie-dye technique combines vibrant food coloring with rubber bands for unique patterns. For an eco-friendly option, use natural dyes from plants like onion skins and red cabbage. If you want some sparkle, apply glitter to plain dyed eggs with glue for a glamorous effect. Decoupage allows for personalization by applying decorative paper with decoupage glue. Finally, painted patterns enable you to express yourself with designs from stripes to florals. There's plenty more to explore, so let's get started on your Easter egg creations!

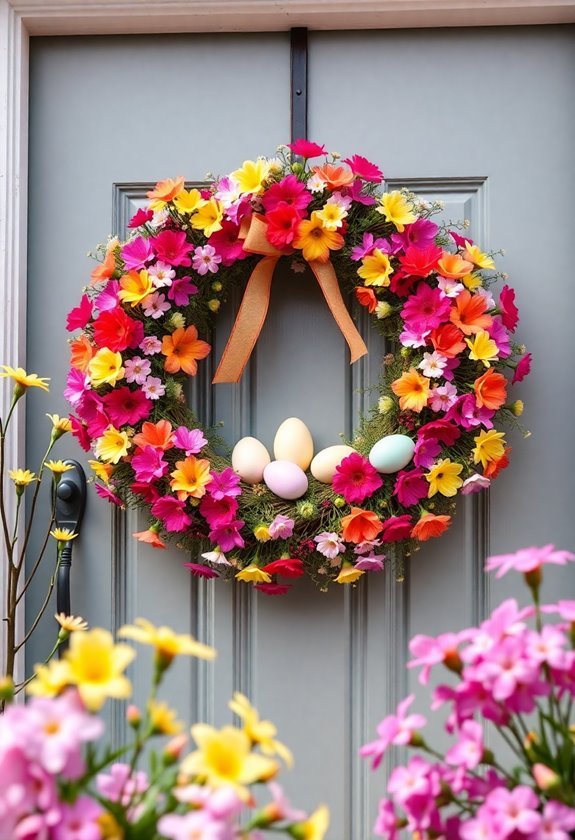
As Easter approaches, I love experimenting with the tie-dye technique to add a burst of color to my eggs. This method transforms ordinary eggs into vibrant works of art, making the process both enjoyable and rewarding. To create a truly festive atmosphere, consider complementing your eggs with other Easter decor ideas that can enhance your celebration.
To start, gather your materials: white eggs, food coloring, rubber bands, and plastic wrap. First, hard-boil the eggs and let them cool completely. Once they're cool, wrap each egg with rubber bands in various directions. This creates unique patterns that will emerge later.
Next, prepare your dye. Pour food coloring into small bowls and mix with water and a splash of vinegar to enhance the colors.
Now comes the fun part! Dip the wrapped eggs into the dye, making sure to cover them thoroughly. You can experiment by using different colors for each egg or even blending them for a rainbow effect.
After about 10-15 minutes, remove the eggs and let them dry. Once they're dry, carefully unwrap the rubber bands, revealing the stunning tie-dye patterns.
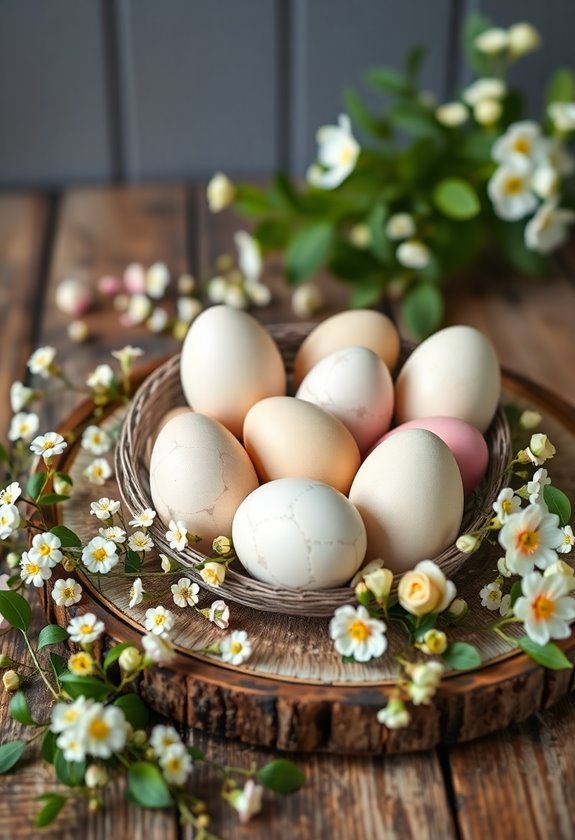
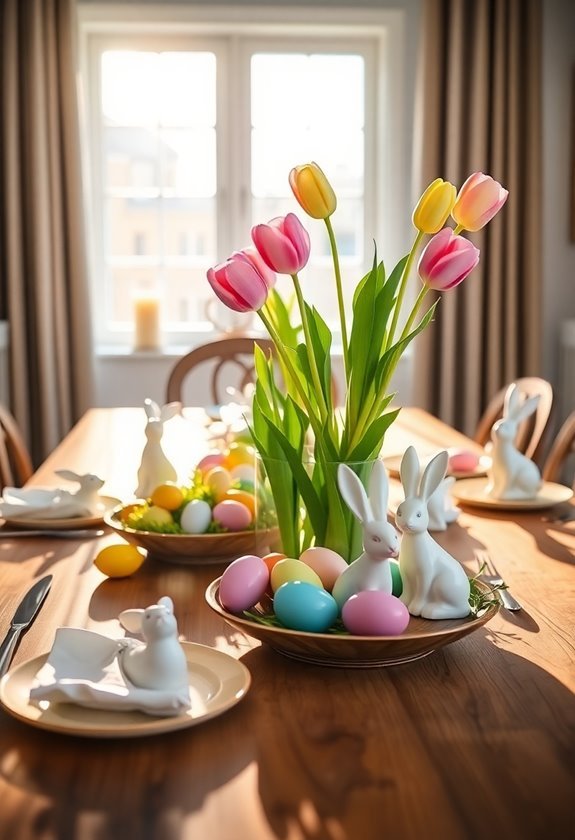
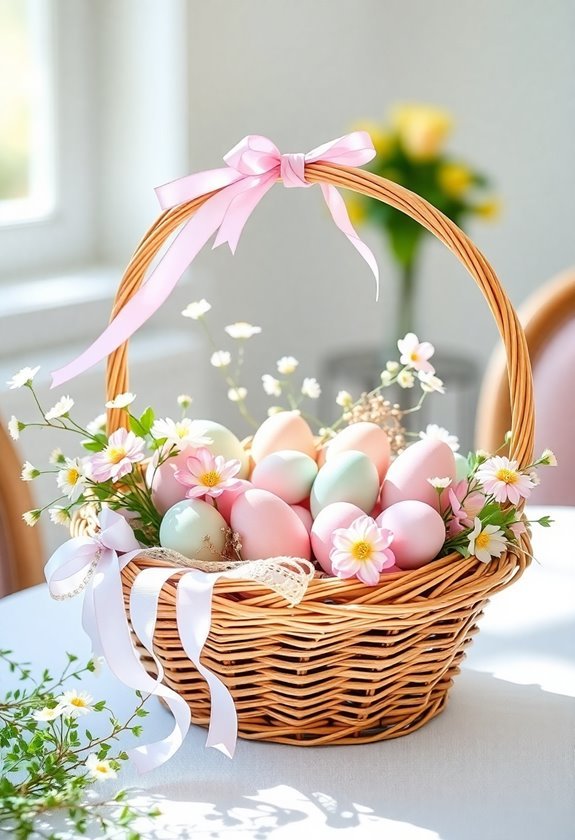
Finally, display your colorful creations in a basket or on a decorative tray, and enjoy the vibrant addition to your Easter festivities! This technique is a great way to showcase your creativity and make your Easter egg decor truly unique, as Easter egg decor ideas can inspire endless variations.

If you're looking for a more eco-friendly approach to decorating your Easter eggs, natural dyes offer a wonderful alternative. These dyes are derived from everyday plants and kitchen items, making them both sustainable and safe.
For example, you can use onion skins for a warm yellow-brown hue, or red cabbage for a stunning blue. Simply chop the materials, boil them in water, and let the mixture steep for about 30 minutes to release the color.
Once you've prepared your dye, strain the liquid and let it cool. You can then dip your hard-boiled eggs into the dye for varying lengths of time to achieve different shades. Experimentation is key here; the longer the egg sits in the dye, the deeper the color will be.
Additionally, adding vinegar to your dye mixture can help set the color, ensuring your eggs look vibrant. Using natural dye alternatives can create a beautiful and unique Easter egg display that stands out.
If you're feeling adventurous, you can even mix multiple natural dyes for unique color combinations. With a little creativity, you can transform plain eggs into beautiful, naturally dyed decorations that are sure to impress your family and friends this Easter.

Easter eggs can sparkle with a touch of glitter and glam that instantly elevates your holiday decor. If you're looking to add some shine to your Easter celebration, this is the perfect way to do it.
Start with some plain, dyed eggs—white or pastel colors work best. You'll need a few supplies: glitter, glue, and a small brush. For an extra touch, consider incorporating Easter cookie decor to create a cohesive festive theme.
First, apply a thin layer of glue wherever you want the glitter to stick. You can create fun patterns, stripes, or even cover the entire egg in glitter. Once the glue is on, sprinkle the glitter generously over the egg, ensuring it sticks well. Let the eggs dry completely before handling them.
For an added touch, consider using different colors of glitter to create a gradient effect, or mix fine and chunky glitter for texture. You can also use adhesive gems or sequins for added glam. To enhance your decor, look for Easter cake decor that complements your sparkling eggs.
These sparkling eggs can be displayed in a decorative bowl, or you can hang them as ornaments. Whatever you choose, the glitter and glam will make your Easter decor pop and impress your guests!

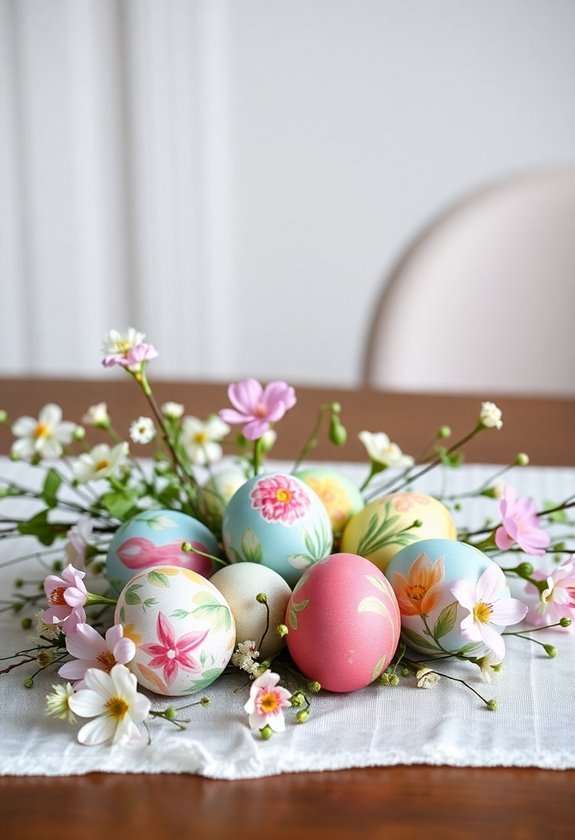
While many people think of painting or dyeing when it comes to decorating eggs, decoupage offers a unique and creative way to personalize your Easter decor. This technique involves adhering decorative paper or fabric to the surface of the eggs, resulting in beautifully detailed designs that can showcase your style. Additionally, using creative materials for your decoupage can elevate your designs even further.
To begin, gather your materials: eggs (either real or faux), decoupage glue (like Mod Podge), scissors, and your chosen decorative paper. I often opt for colorful scrapbook paper, vintage book pages, or even fabric scraps to achieve different textures and patterns.
Start by cutting your paper into small shapes or strips. Apply a thin layer of decoupage glue to the egg, then carefully place your paper pieces on top. Smooth out any wrinkles using a brush or your fingers, and finish by applying another layer of glue over the top to seal it all in.
Once your eggs are dry, you can display them in a basket or hang them from a decorative tree. Decoupage designs allow for endless creativity, and I love how each egg can tell its own story, making my Easter decor truly special. Additionally, you can enhance your decor with various Easter mantel decor ideas to create a cohesive festive atmosphere.

Creativity flourishes when it comes to painted patterns for Easter eggs. I love exploring different designs, as they offer endless possibilities for personal expression.
To start, gather your materials: eggs, paint, brushes, and a palette. You can use acrylic paint for vibrant colors or watercolor for a softer look. Additionally, consider incorporating budget-friendly supplies that can help you achieve stunning results without breaking the bank.
Once you have your supplies ready, I recommend preparing your eggs. If you're using real eggs, make sure they're hard-boiled or blown out to avoid mess.
Next, choose a pattern. You might consider classic stripes, polka dots, or floral designs. For intricate patterns, use fine-tipped brushes, while broader strokes work well for larger areas.
Begin painting with light, even strokes. Don't worry about making it perfect; the charm often lies in the uniqueness of each egg. If you're feeling adventurous, try layering colors or creating a gradient effect.
Lastly, let your eggs dry completely before displaying them. You can place them in an egg holder, basket, or even hang them for decoration.
Painted patterns not only enhance your Easter celebration but also create a fun activity to share with family and friends. Additionally, you can explore Easter egg decor products that can elevate your decorating experience. Happy decorating!
Imagine a painter preparing a canvas; I gather vibrant paints, brushes, and textures. For decorating, I'll need eggs, dyes, glue, glitter, and some imagination. Each material's like a brushstroke in my artistic masterpiece.
To store decorated eggs safely, I use egg cartons or cushioned boxes, placing them gently to avoid cracks. I also keep them in a cool, dry place away from direct sunlight. It really helps preserve their beauty!
Absolutely, you can eat decorated eggs! Just remember, once they've been painted or dyed, it's best to keep them refrigerated and consume them within a week. Think of it as a tasty art project!
After crafting, I usually gather all my supplies first. I wipe surfaces with a damp cloth, sweep up any debris, and store everything properly. It keeps my space tidy and makes future projects easier.
Picture a sunny afternoon, laughter ringing in the air. I gather my kids, handing them paintbrushes and vibrant dyes. Together, we create joyful designs, transforming plain eggs into colorful masterpieces that spark creativity and joy.